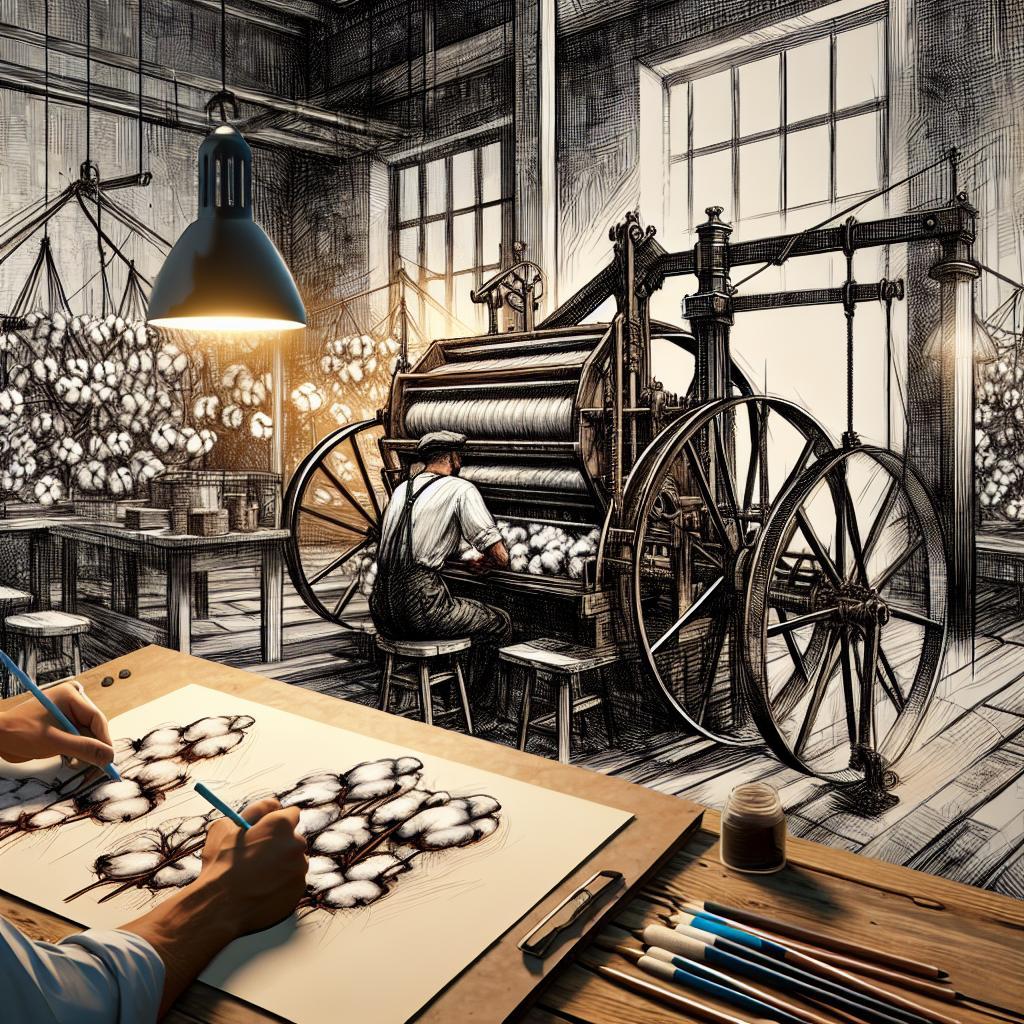

In this guide, we show you how to draw a cotton gin historical illustration made simple step by step.
To draw a historical cotton gin simply and accurately, sketch a rectangular wooden frame in 3/4 perspective, draft the upper feed hopper, insert a central cylinder equipped with rows of wire teeth passing through a narrow slotted grate, and add a secondary counter-rotating brush cylinder beneath a hand-crank pulley. This historical illustration methodology captures Eli Whitney’s 1793 mechanical separation of cotton fibers from seeds.
Anatomy of a 1793 Cotton Gin: Key Mechanical Components for Accurate Drawing
To produce an authentic, educational historical illustration of a cotton gin, artists must understand the functional spatial relationships among its internal components. Eli Whitney’s 1793 patent design relies on mechanical interaction between rotating cylinders and stationary slotted grates:
| Component | Visual Geometry | Material Texture | Mechanical Function |
|---|---|---|---|
| Wooden Housing Box | Rectangular prism with open top and side access panel | Aged pine/oak wood grain with cross-braces | Encloses the rotating cylinders and supports the crank axle |
| Feed Hopper | Inverted trapezoidal chute at the top rear | Rough-sawn lumber boards | Directs raw, uncleaned seed cotton onto the toothed cylinder |
| Toothed Cylinder | Horizontal central drum with staggered wire hooks | Iron/steel wire teeth embedded in a solid wood roller | Snags cotton lint and pulls it through the narrow grate slots |
| Slotted Breast Grate | Curved vertical metal ribs spaced <1/8 inch apart | Wrought iron bars with oxidized sheen | Blocks cotton seeds while allowing lint fibers to pass freely |
| Revolving Brush Drum | Secondary cylinder positioned behind the toothed drum | Stiff hog bristle clusters attached to wooden slats | Sweeps cleaned cotton lint off the wire teeth into the catch bin |
| Hand Crank & Pulley | Offset iron handle connected to belt/cog drive | Cast iron crank with wooden grip | Drives both cylinders simultaneously at counter-rotating speeds |
Step-by-Step Technical Breakdown: Drafting the Cylinder, Grates, and Brushes
Follow this systematic drafting sequence to build a mechanically sound cotton gin diagram:
- Establish the Isometric Wireframe: Draw a 30-degree isometric bounding box defining the machine’s length, width, and height. Keep construction lines light (2H pencil or 20% opacity layer).
- Position the Axle Centers: Mark the center points for the two main cylinders along the side panel. The primary toothed cylinder sits forward and lower, while the brush cylinder is positioned slightly higher and further back.
- Draft the Slotted Grate Arc: Sketch the curved breast grate wrapping snugly around the front face of the primary cylinder, leaving a clearance gap of less than 2 millimeters in scale.
- Render the Wire Teeth in Perspective: Draw rows of forward-curved iron wire hooks radiating from the cylinder surface. Ensure the hooks align precisely with the gaps between the grate ribs.
- Add the Bristle Texture and Drive System: Illustrate the dense bristle tufts on the rear cylinder rotating in the opposite direction. Add the external hand crank and leather drive belt linking the two shafts.
- Shading and Material Definition: Apply directional cross-hatching to render the aged wood grain of the outer box, specular highlights on the wrought iron grate, and soft fibrous textures for the emerging cotton lint.
Drawing a cotton gin serves as an educational tool, enhancing one’s comprehension of both its mechanics and historical context. Articulating the components of the gin—including the feed hopper, rotating saws, and the separation basket—encourages a deeper appreciation for how the machine operates. By visually breaking down its elements, artists and historians alike can clarify the complex processes involved in cotton production during the 19th century.
For students and enthusiasts, sketching the cotton gin can lead to a tactile learning experience. Engaging in hands-on creative activities stimulates memory retention and critical thinking. As individuals visualize and reproduce the structure of the cotton gin, they can better grasp its engineering principles and its transformation of agricultural practices. This creative exploration not only solidifies knowledge but also sparks curiosity about the broader social and economic contexts surrounding the invention.
What materials and techniques should one use for drawing a cotton gin?
When drawing a cotton gin, aspiring artists can choose from various materials depending on their skill level and desired finish. Pencils are often recommended for initial sketches due to their ease of erasure, allowing for corrections as one develops the proportions and layout of the gin. For more defined lines, ink pens or fine liners can deliver a polished look. If color is desired, colored pencils or watercolors can add dimension and authenticity to the illustration, particularly when depicting the rustic materials typically used in historical gins.
Techniques that may enhance the drawing process include using grid systems to ensure proportional accuracy and employing shading techniques to create depth. For example, cross-hatching can effectively render shadowed areas, whereas a lighter touch can indicate sunlit surfaces. Additionally, reference images of historical cotton gins can provide insight into details such as texture and wear, enriching the drawing experience. Engaging with these materials and techniques not only improves artistic skills but also allows for a better replication of the historical artifact.
What steps are involved in the process of drawing a cotton gin?
To draw a cotton gin effectively, an artist can follow a structured approach that simplifies the process. Begin with research to gather images and information about different types of cotton gins. Understanding design variations, such as the differences between a small hand-operated gin and a larger mechanized version, provides a solid foundation for the illustration.
Next, proceed with sketching the basic shapes. Start with simple geometric forms, like rectangles and circles, which serve as the foundation for the gin’s complex components. Gradually refine these shapes, focusing on the intricate mechanisms like the rotating saw and the separation chute. As the drawing takes shape, it’s helpful to compare against reference images to ensure accuracy.
After establishing the basic outline, add details progressively, paying attention to the textures of wood or metal parts, as well as the way light interacts with different surfaces. Once all details are in place, consider adding a background that portrays a cotton field or an era-appropriate scene, effectively placing the cotton gin in its historical context. This holistic approach not only enriches the drawing but also enhances understanding of its historical significance.
Are there any common challenges when drawing a cotton gin, and how can they be overcome?
Artists often encounter challenges when drawing complex machinery like a cotton gin, such as capturing accurate proportions and detailing intricate parts. One common issue is the misrepresentation of scale; a cotton gin is composed of various elements that differ significantly in size. To overcome this, using a grid system can help maintain consistent proportions and layouts, providing a reference for accurate measurements.
Another challenge arises from depicting textures and materials realistically. Historical cotton gins often feature a mix of wood, metal, and cloth, each requiring different shading techniques. To tackle this, artists can practice drawing these materials separately before incorporating them into their main illustration. Techniques such as light brushing for wood and stippling for metal surfaces can help convey realism.
Lastly, achieving the correct perspective can also be tricky, especially when drawing a three-dimensional object. Utilizing one-point perspective or looking at the gin from different angles during the sketching phase can help establish depth and realism. By addressing these challenges with structured techniques and practice, artists can improve their drawings while gaining insights into the complexities of cotton gins.
What are some resources for further learning and inspiration on drawing historical machines like the cotton gin?
For those interested in developing their skills in drawing historical machines such as the cotton gin, numerous resources are readily available. Books focusing on historical machinery or agricultural technology can provide not only technical details but also context about the time periods in which these inventions were made. Titles like “The Forgotten History of the Cotton Gin” or “Machines That Changed the World” can be enlightening.
In addition to literature, online tutorials and video lessons on platforms like YouTube can offer step-by-step drawing guides tailored to illustrating machinery. Websites such as Skillshare or Udemy host courses specifically on drawing techniques that can help artists at any level refine their skills. Those interested in a more interactive approach may consider joining drawing workshops or art groups focused on historical subjects, where sharing insights and techniques can be fostered.
Lastly, utilizing museum websites or historical archives can be especially helpful. Many institutions, like the Smithsonian or local history museums, have digitized collections and resources that include high-resolution images and detailed descriptions of cotton gins and other machinery. Exploring these platforms not only informs but also inspires creativity, sparking newfound ideas for illustrations.
Final Thoughts
Mastering the art of historical illustration through “How to Draw a Cotton Gin: Historical Illustration Made Simple” is not just an artistic endeavor; it’s a journey into the heart of industrial history. By understanding the intricate details of this iconic invention, you’re not only honing your drawing skills but also connecting with pivotal moments that shaped our world.
So grab your pencil, unleash your creativity, and let these tips guide you as you sketch your way through history. Remember, every great artist started with a simple line—much like the cotton gin started a revolution in agriculture. Whether you’re a seasoned illustrator or just sketching for fun, each stroke brings history to life, one cotton fiber at a time.
Get our latest guides, news, and insights highlighted in your Google Search & AI Overviews.